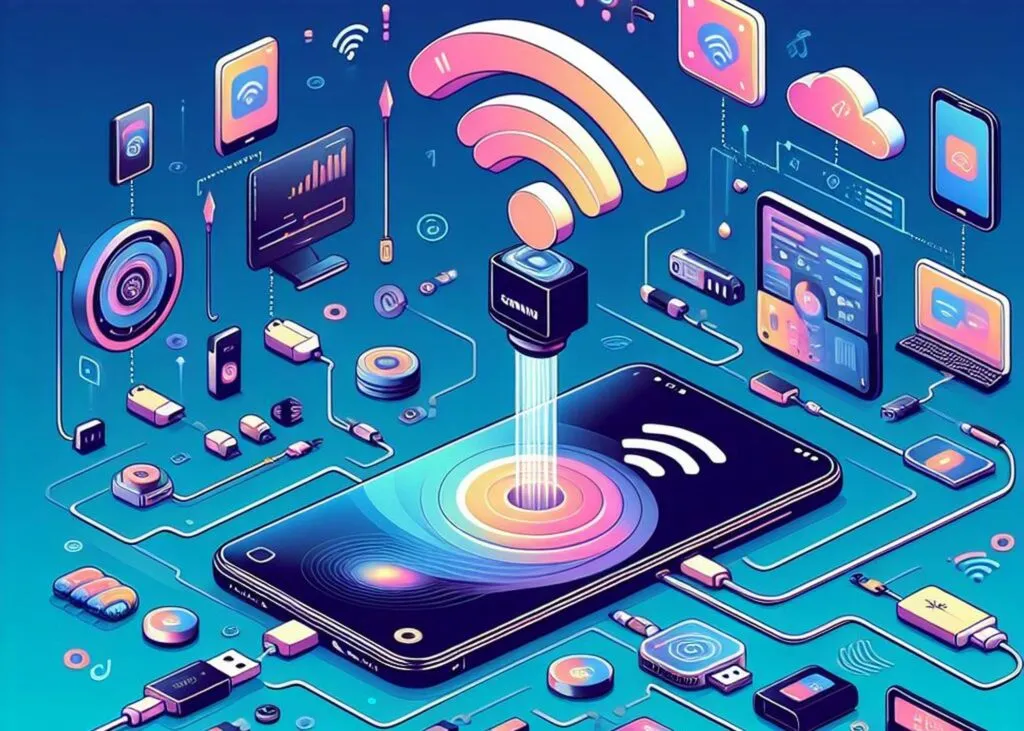
Data Transfer to Samsung Galaxy S24: Wi-Fi, USB-C, and PC Methods
Whether the Samsung Galaxy S24 phones are on the horizon or gleaming in your local smartphone store, you’ve landed here to discover the ins and outs of transferring data to a new Samsung Galaxy phone. In this guide, we’ll walk you through the steps, but first, note that there are three distinct methods: Wi-Fi, USB-C cable, or your computer. All three rely on Samsung’s Smart Switch software, requiring Android 4.3 or later on both devices.
If you’re an iPhone user eyeing a transition to Android, we’ve got a separate guide for switching from iPhone to Android (and vice versa). Now, let’s delve into the specifics of transferring data to your new Samsung Galaxy phone from your existing Android device, exploring each of the mentioned methods.
Essentials for the Job
To ace this transfer mission, gather two Android phones (one Samsung, both Android OS 4.3+), the Samsung Smart Switch app, and a solid Wi-Fi connection. For extra support, have a USB-C cable or a PC with Windows 7+ on standby.
Swift Moves for Data Transfer to Your New Samsung Galaxy Phone
For Wi-Fi magic, launch Smart Switch on both devices and heed the on-screen guide.
Plug in a USB-C cable for a direct transfer. Open Smart Switch on both devices and flow with the on-screen cues.
On the PC route, grab Smart Switch, link your old device, back up data, and repeat for the new device—opting for Restore this time.
Effortless Wi-Fi Data Transfer: A Step-by-Step Guide
- Enable Smart Switch on Both Devices
Ensure Smart Switch is activated on both devices. While most Samsung phones have it pre-installed, for non-Galaxy devices, download it from the Google Play Store (requires Android 4.3+ and 1.5GB storage). - Launch Smart Switch on Both Devices
Open Smart Switch on both devices. If it’s your first time, agree to the terms and tap Allow on the permissions screen to proceed. - Connect Devices via Wi-Fi
Confirm both devices share the same Wi-Fi network. On the old phone, tap Send data, then Wireless. On the new Galaxy phone, tap Receive data, then Galaxy/Android, and finally, Wireless. - Initiate Data Transfer
On the old phone, tap Allow, choose the data volume to transfer, and hit Next. Track progress with the percentage graphic. Once completed, tap Go to the Home screen.
Seamless USB-C Data Transfer: A Quick Guide
- Link Devices with USB-C
Following steps 1 and 2 mentioned earlier, open Smart Switch on both devices. Now, connect them using the USB-C cable provided with your new Samsung phone. - Initiate Data Transfer
On your new Samsung phone, within the Smart Switch app, choose Backup, then Allow. Pick the data volume, tap Start, and watch the percentage graphic until completion. Finally, tap Go to the Home screen.
Efficient PC Data Transfer: A Stepwise Approach
- Download Smart Switch on PC
Begin by downloading Smart Switch on your PC (ensure it’s running Windows 7 or later). - Connect Old Device to PC
Link your old device to the PC using a suitable cable. - Back up Old Phone Data on the PC
In Smart Switch on your PC, choose Backup. On your old phone, tap Allow to initiate the transfer. Once done, hit OK and disconnect the phone. - Connect New Device to PC
Now, connect your new device to the PC using a compatible cable. - Transfer Data to New Device
On the PC, select Restore in Smart Switch. Opt for Select a different backup, then Samsung device data, and commence the data transfer.
UP NEXT • DEEP FEED

Ransomware Response: What to Do in the First 24 Hours
LOAD MEMORY →


Ransomware Response: What to Do in the First 24 Hours
LOAD MEMORY →Related Stories
Oura Ring vs AI Sleep Trackers: Which Gives Better Recovery Data?

Snapdragon 8 Elite Gen 5 vs Apple A18 Pro: Full Benchmark Comparison